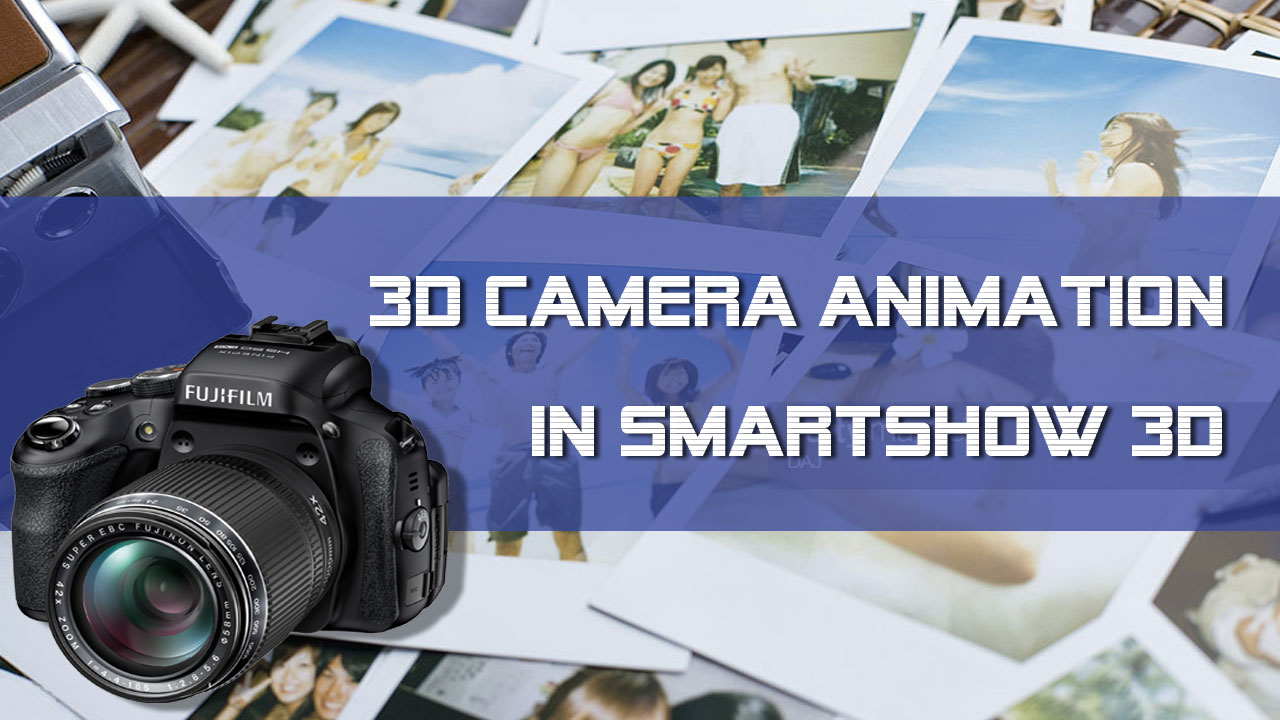
How to use 3D camera for slide animation
If you are fond of making beautiful slideshows with your photos, be sure to learn some new features to make them even better. In this article we’ll share some secrets of creating 3D animation in a photo slideshow. With SmartSHOW 3D, you can set up animation for each and every object on your slides, making photos, videos and cliparts move the way you want. The software offers professional level editing tools to make your work efficient and fun at the same time. Now, let us show you how to animate your slides and how to use the 3D camera.
Creating animation for slide layers
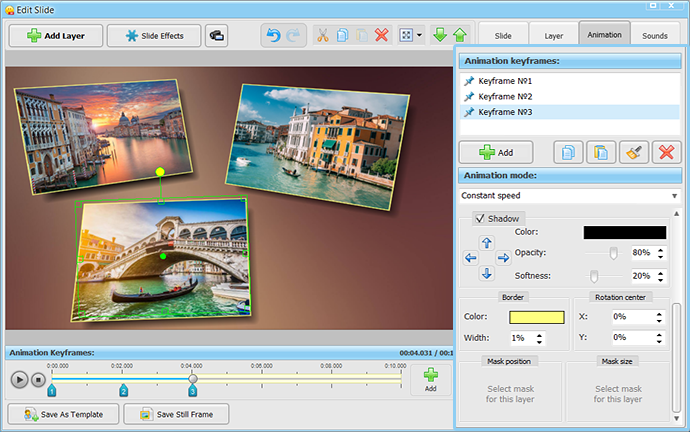
First, open the slide editor. Here you can add layers - these can be photos, cliparts, text captions and so on. Adjust the position and size of the objects as you want them to be, and click the Animation tab. You add keyframes, and for each keyframe you set new coordinates of the object. For example, in keyframe #1 we’ve got a photo of small size in the left side of the screen, in keyframe #2 we make the photo bigger, and move it to the center of the screen. Now when you press the Play button, the photo will be moving in space and growing in size in real time, and that’s the cool thing about animated photo slideshow.
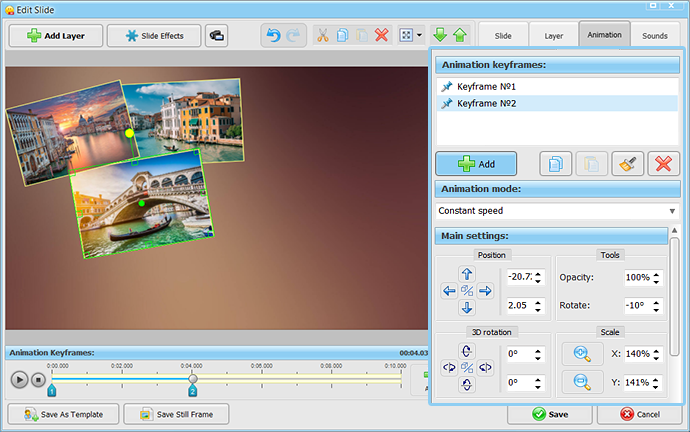
That was a very basic explanation of slide animation, try it yourself and you will get the idea. SmartSHOW 3D allows you to do almost anything when animating the slide – rotate objects in 3D, make them transparent, apply special masks and shadows. Set animation for the rest of the objects on the slide using the same pattern. Learn more about animating slides in this lesson: How to Create Animation Effects for Slideshow.
Managing the 3D camera animation settings
Now let’s take a look at how the 3D-camera works. Unlike the single layer animation, keyframes here are applied to the whole slide animation with all its layers. For instance, in the video demo above, single layer animation works for separate layers while the whole slide is flying away. The effect of the slide flying away is created by using the 3D camera. Want to try it yourself? Click the Manage Camera button in the slide editor to open the camera mode. There are several settings you'll be working with.
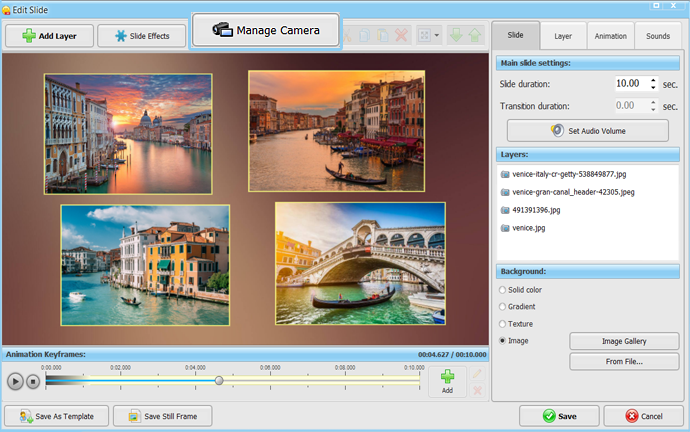
The first is Zoom that goes both ways, zoom in and zoom out. The second is Rotate that will move the slide clockwise or counterclockwise. The third is 3D-rotate, that helps you to move the slide in space in any direction. And the last but not least setting is Position that will move your slide up or down, left or right. Combine them and experiment to get truly unique effects. Another interesting feature is Animation mode – you can set how the objects will move in space. Choose from constant speed, smooth, push out, bounce off, speed up or slow down.
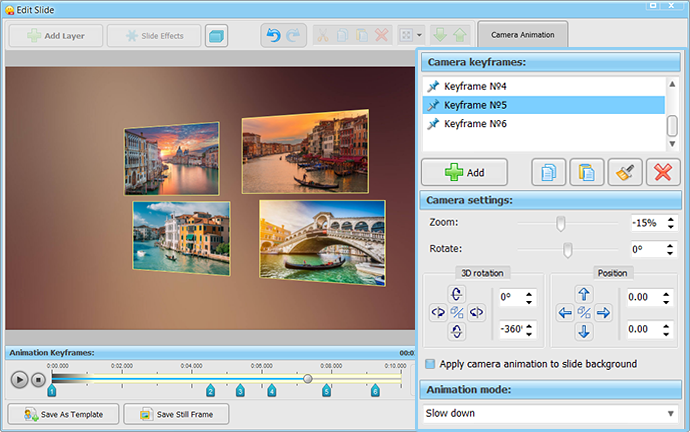
When you are done with setting animation, you can save the slide as a template - simply click Add to Title Clips button and write the name of the template. You can then use it later in other projects, simply replacing the photos. Hit the Save button to leave the slide editor and to continue working on your animated photo slideshow.
Even if you're completely new to the art of slideshow, don’t hesitate, it's easy and fun, you just need to try! Download SmartSHOW 3D now and create amazing animated slideshows!
Want to make stunning photo movies with your own pictures? That's as simple as ABC with SmartSHOW 3D software!
Compatible with
Windows 11, 10, 8, 7

Get started with SmartSHOW 3D!