Halloween Slideshow: Helpful Tips & Tricks
Halloween is right next to your door and you still haven’t prepared any special ‘treats’ for the party? If sweets, spooky stories with a flashlight and carved pumpkins have become too mediocre for you, present something truly special to your friends. We don’t mean skull-tea cups or masks: funny memories and moments - these are the best gifts that suit everyone.
So, why not make a scary Halloween slideshow and share it with others? You can watch the video together during the party, and then re-watch it throughout the year, while planning new mischieves for the next Hallowen. What’s more, video creation won’t take much of your time. You’ll just need a bunch of pics from your previous All Saints' Eve parties, a few hilarious video clips and a drop of creativity.
Here’s an example of a slideshow you can make for your Halloween party in just a few minutes:
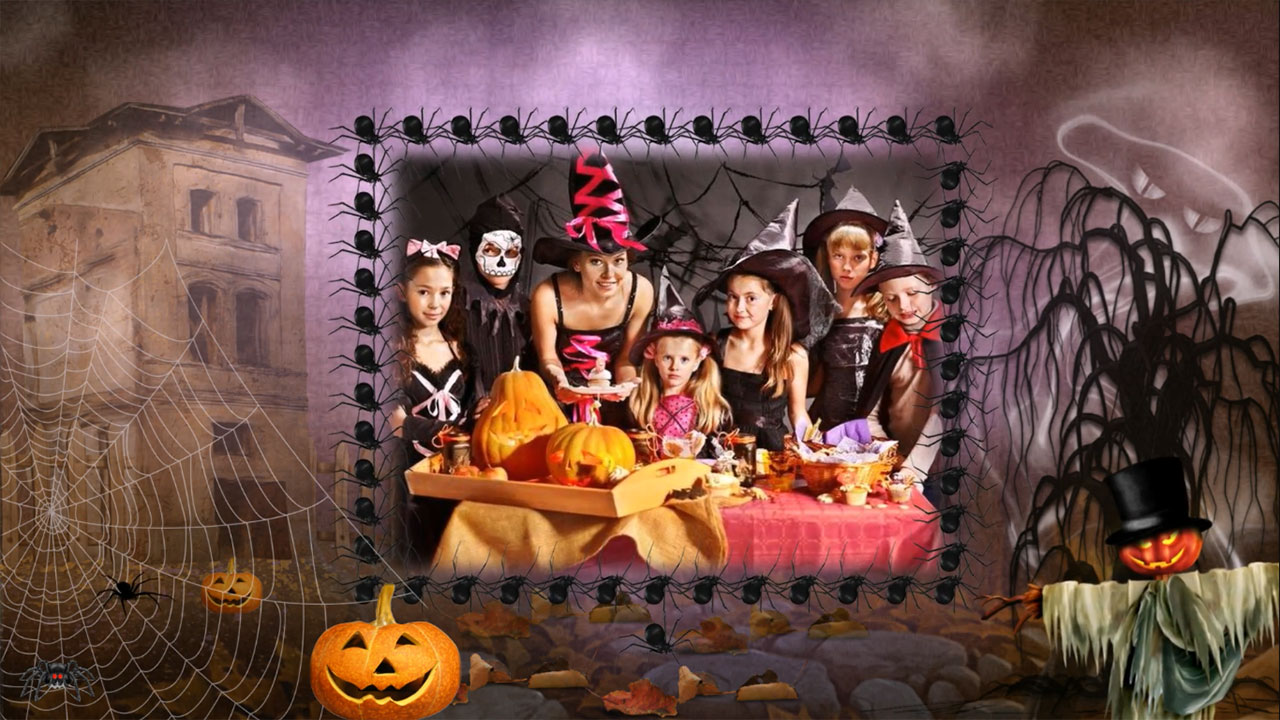
Like the video? You can create a scream-worthy slideshow yourself even if you aren’t that skilled in video editing. Still think you can’t take this challenge? Keep reading and discover a step-by-step guide for creating an awesome Halloween photo slideshow, as well as useful tips and tricks on choosing pictures and music.
Top 5 Tips for Creating a Cool Halloween Slideshow
Before you start making your slideshow, get yourself a cup of coffee and read these tips. They will help you create a jaw-dropping photo movie.
- Get pics from your Halloween parties - Browse through your picture folder and select 40-50 photos for your slideshow. Need more images for decoration? You can find pumpkins, bats and other Halloween pictures on the Internet.
- Add thrilling video clips - Your Halloween picture slideshow should be entertaining and heart-shocking, but definitely not boring to death. Add a few video clips to break still pictures. For example, you can take pieces from your favorite horror movies.
- Find Halloween songs - You need to create the right mood for your video. If you don’t have a chilling tune at hand, look for Halloween music that will fit into the slideshow.
- Making a video for your kids? - Then your video should be more entertaining than scaring. Find a few cartoonish Halloween slideshow themes that you can use as a base for your creation.
- Look for special software - You will need a Halloween slideshow creator for making your video. It should perform stable work on popular operating systems, including Windows 10 and Windows 8. People usually suggest Google Slides or PowerPoint, but their toolkit is rather limited. If you want to truly impress your audience, try SmartSHOW 3D. This slideshow maker for PC is suitable for both newbies and professional users. It’s full-packed with resources: 200+ templates, 400+ effects and 500+ royalty free music.
Still looking for powerful slideshow making software? Get started right now with SmartSHOW 3D! Click the green button below to download the free trial version:
Use the freshly downloaded SmartSHOW 3D to create your Halloween photo slideshow. Don’t know how? Here are the steps!
How to Create a Halloween Slideshow
Step 1. Drop in Your Photos
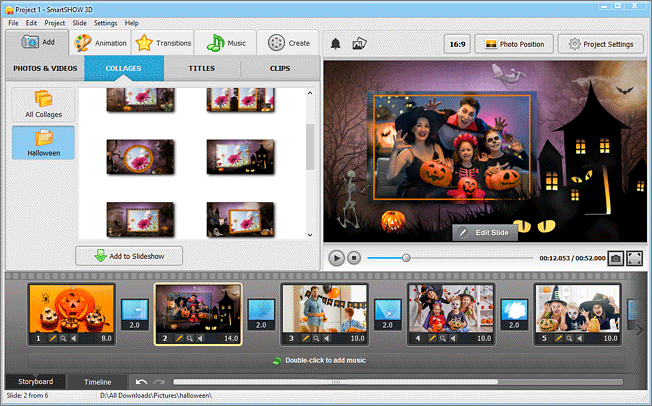
Start the Halloween slideshow video maker. If you have free time, make a project from scratch. Take the scary pictures you picked beforehand and add them to the Timeline. Drag and drop the slides to change their order, or just click Shuffle to mix the pictures. You can combine some of the images into cool-looking collages - just pick a suitable template.
Step 2. Add Mind-Blowing Animations
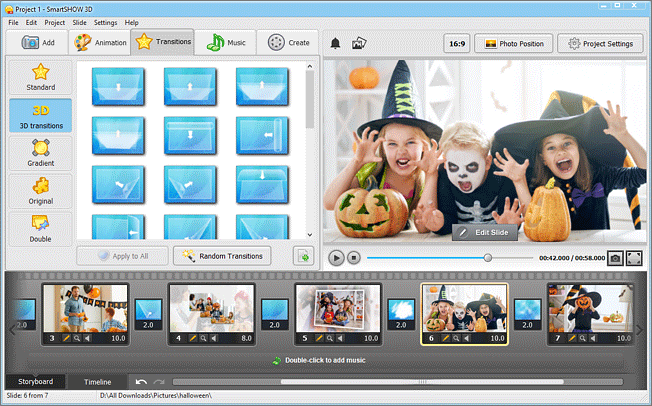
Make haunted houses, spooky spider webs, and ghoulish ghosts move on the screen. Play with animations and transition effects to recreate the magical atmosphere that reigns on All Saints' Eve. Just pick the animation you like and drop it onto the slide. It will be applied automatically. Want to add an icing to the cake? Set a suitable image or a video as a slide background.
Step 3. Insert Bone-Chilling Music
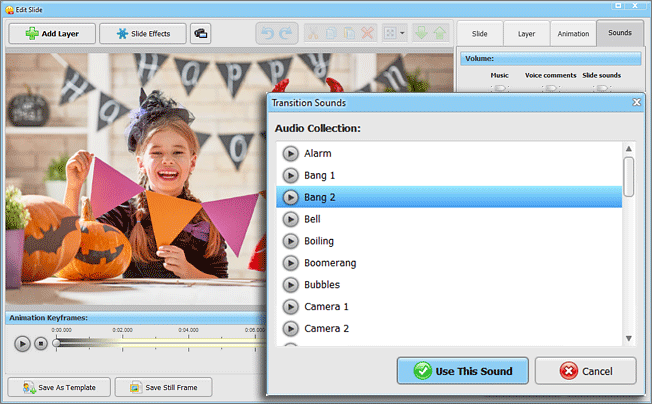
Create the horror atmosphere by adding Halloween slideshow music. Pick suspenseful tunes from the built-in music gallery, or add your own tracks. To scare the viewers even more, use your microphone and record comments with a haunted voice. Finally, create smooth fadings and blend the tracks together directly on the Timeline by adding audio points.
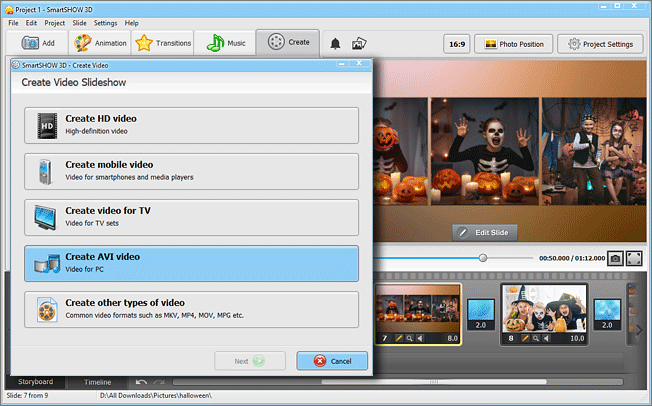
Step 4. Create Your Halloween Slideshow
Your photo movie is ready, and the only thing left is to choose the kind of video you want. Make a web-optimized video to share it on Facebook or YouTube, create a video for TV, iPad or iPhone to watch it together with your friends. Share your Halloween spirit and fun with everyone around!
As you can see, the steps are pretty simple. Ready to follow them? Take Halloween slideshow pictures, start SmartSHOW 3D and create your own worth-screaming video. Watch it with your family and friends during Halloween to scare away all the sad thoughts!
Get started with SmartSHOW 3D!


